Trading Setup vs Entry Trigger: What Is the Difference?
A setup tells you the market is favorable; an entry trigger tells you to execute right now. Why confusing the two leads to premature entries, getting chopped up, and missed trades.

Turn an idea into repeatable rules, then test what survives real market conditions.

A setup tells you the market is favorable; an entry trigger tells you to execute right now. Why confusing the two leads to premature entries, getting chopped up, and missed trades.


Intuitive 'feel' versus strict algorithmic rules. Compare repeatability, flexibility, reviewability, and common psychological failure modes across both approaches.

Should you enter early at support for the best price, or wait for confirmation with worse pricing? Understand the fundamental trade-off between fill price and evidence.

Wrong ticker, inverted buy/sell side, extra zeros on position size, or accidental market orders. Practical safeguards against expensive 'fat-finger' execution errors.

How long does an unfilled order stay alive? Understand Day, Good 'Til Canceled (GTC), Immediate or Cancel (IOC), and Fill or Kill (FOK) order lifespans.

A trading plan defines under what market conditions you trade; a pre-trade checklist verifies that your order ticket is correct right now. Why you need both.

Most trading journals fail because they are either blank diaries or over-engineered spreadsheets. A clean, five-field template designed to capture hypothesis, execution, emotion, and review without friction.

A trade log records what happened; a trading journal records why you did it. Discover why confusing a broker transaction statement with a true journal keeps traders stuck in the same costly cycles.

Writing paragraph essays after every trade makes pattern recognition impossible. Learn a clean, four-category tagging system to identify exactly which setups print money and which behavioral habits bleed your account.

Backtesting looks backward at history; paper trading looks forward in real time. Learn what flaws each method exposes, why neither can replace the other, and how to combine them.

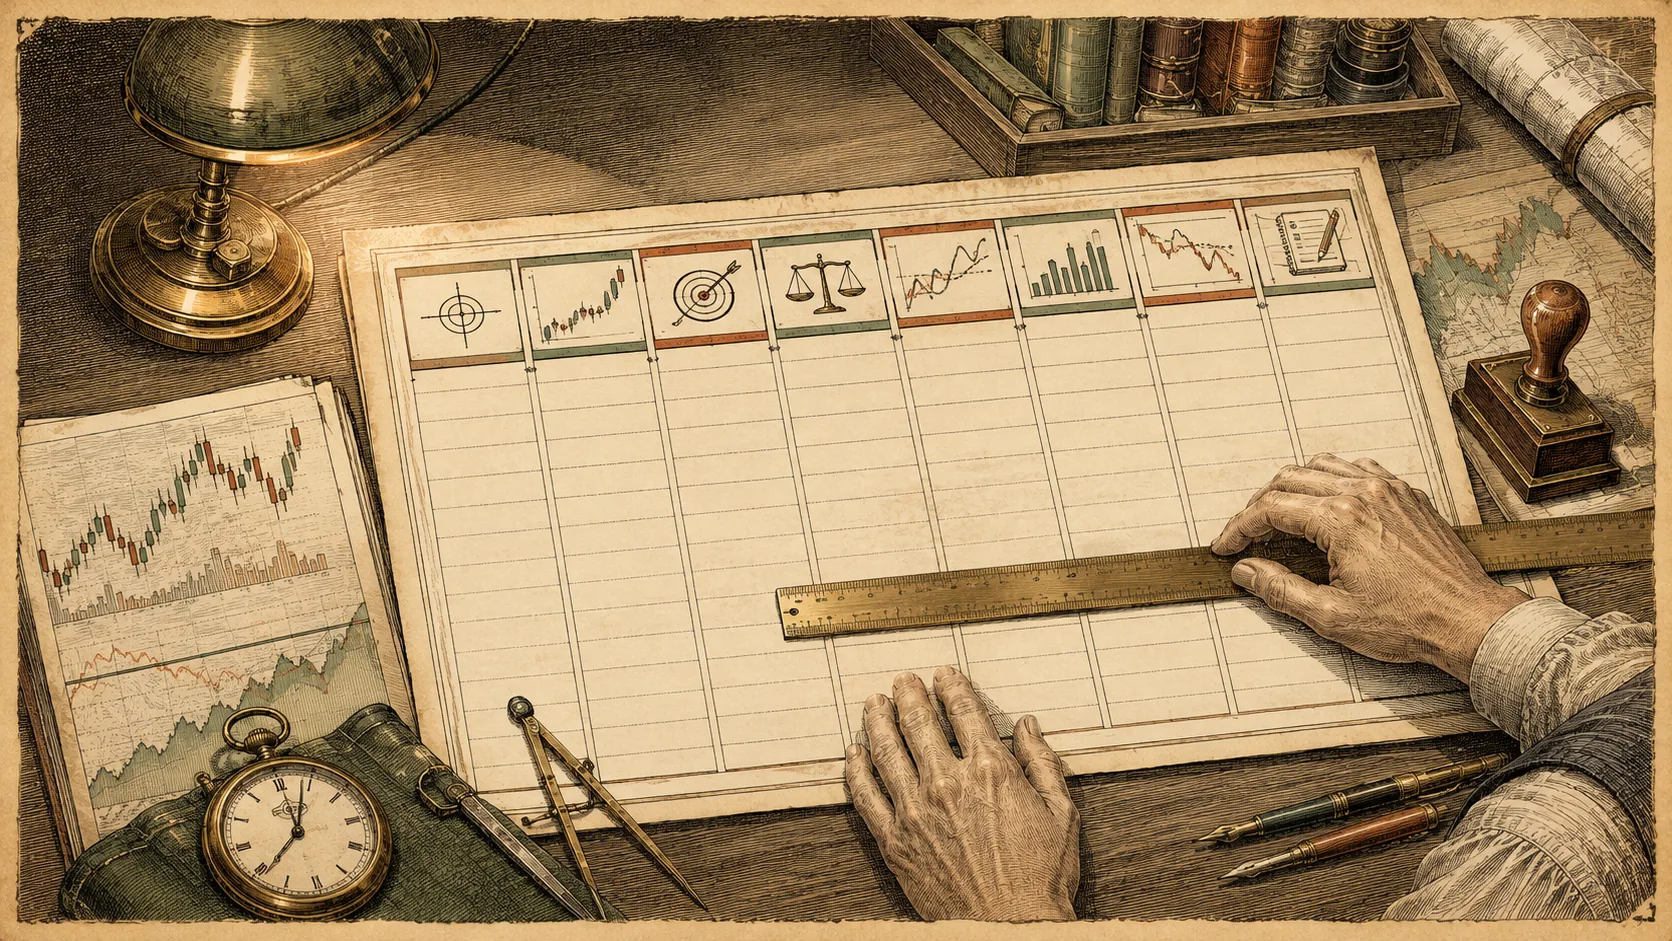
A backtest is only as reliable as the worksheet behind it. Learn the eight essential fields to log when manually testing a trading strategy, how to account for friction, and how to avoid self-delusion.

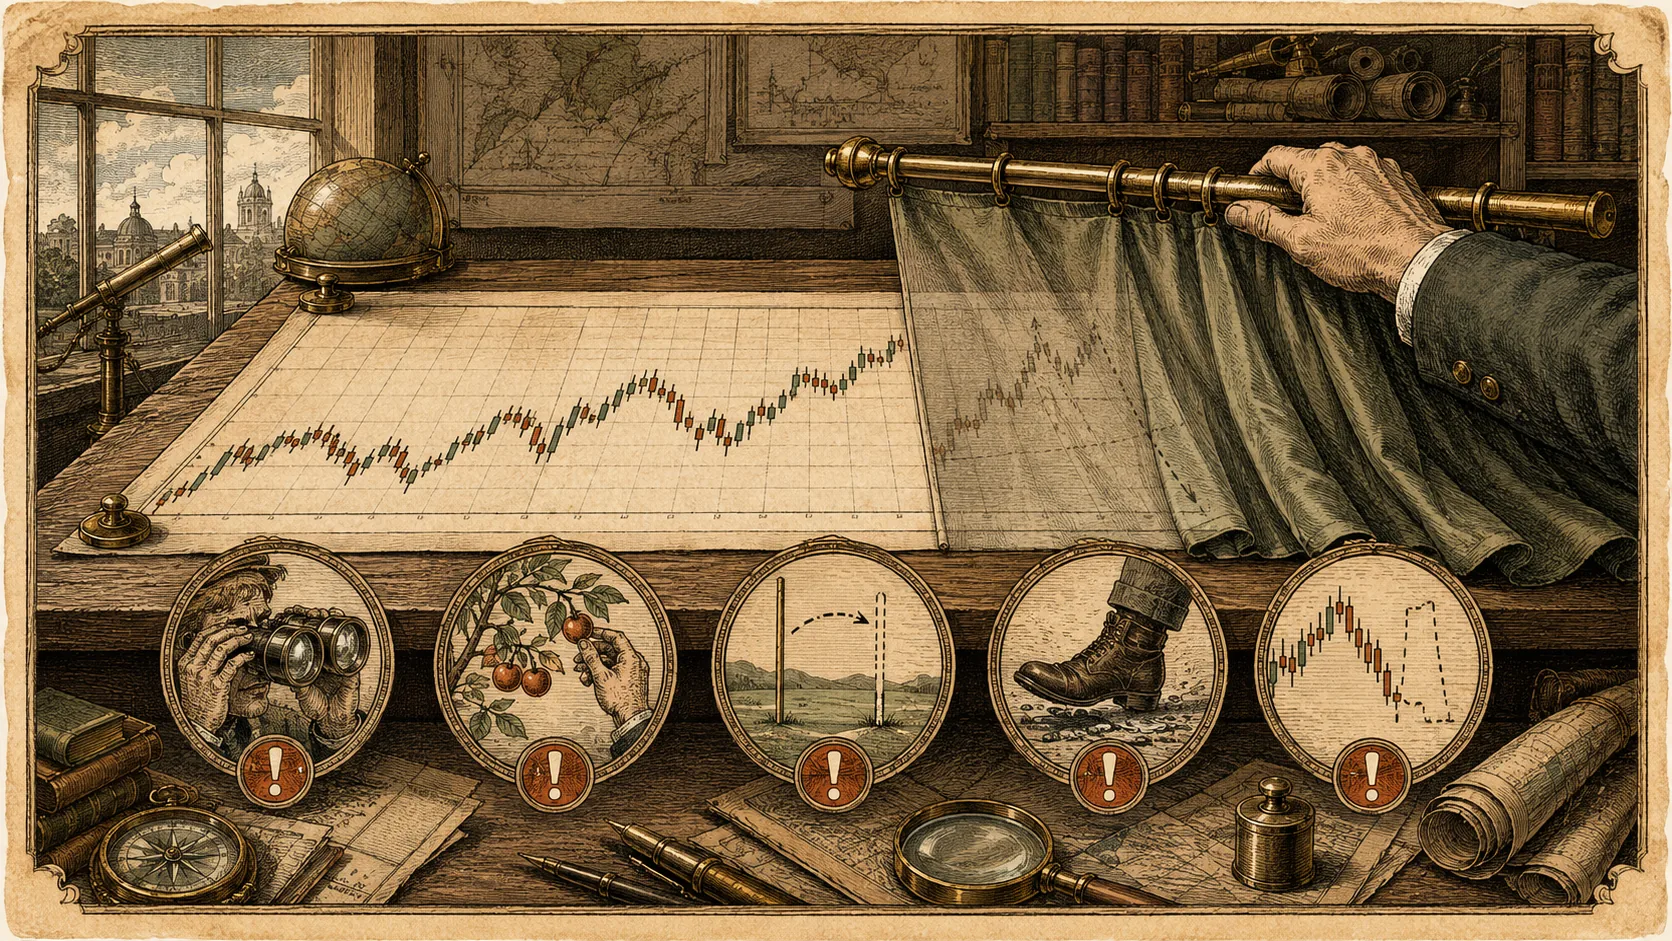
Manual backtesting sounds disciplined, but the human brain is remarkably good at cheating itself. Discover the five classic mistakes beginners make when scrolling historical charts—and how to test honestly.

Understand the structural differences between compressed OHLCV candlestick bars and granular tick-by-tick market data. Learn which data type fits your trading research.

Understand the mechanical differences between request-response REST APIs and continuous WebSocket streams. Learn how polling latency, rate limits, and reconnections impact trading.

Learn why stock splits, cash dividends, and corporate actions distort unadjusted close prices. Discover when to use adjusted close for backtests and when raw close is required.

Paper trading with a $1,000,000 fake balance creates reckless habits. Learn how to configure your simulator to accurately mirror real-money execution.

Why do paper trading champions blow up within weeks of going live? Unpack the 5 most common demo trading pitfalls, from God Mode sizing to Reset Button addiction.

Suffering a losing week doesn't mean your strategy is broken. Learn how to distinguish execution failure from true edge decay before modifying your rules.

Adding filters to eliminate past losing trades is the fastest road to curve-fitting. Learn how to refine trading rules systematically without breaking your edge.

Understand the core structural mismatch: why breakout and trend-following systems suffer repeated paper cuts in sideways markets, and how to protect your equity curve.

A trading plan fails in predictable ways: a missing risk budget, a named-but-undefined 1R, improvised exits, and no review process. Learn the common mistakes and how to spot them.

A complete trading decision loop runs from market view to sizing to entry to exit to review, then feeds the next decision. Learn the steps and what breaks when one is missing.

Scaling out closes part of a position at a target and lets the rest run. It balances capturing gains against riding a move, but changes risk management mid-trade. Learn how to do it as a rule.

A personal trading risk policy is a written set of limits and rules for your trading: how much to risk, what stops you, and what you will not do. It turns risk awareness into a document.

An unplanned trade is one taken without a rule that fired or a risk that was sized. They usually cost more than planned trades. Learn to spot them and to separate them in your review.

A premarket trading plan settles the decisions that should not be made while the market is moving: the setup to watch, the risk budget, the entry and exit, and the pause rules. Learn what goes in it.

A profitable trade can be a bad decision, and a losing trade can be a good one. Learn to review the process that produced the trade, not the profit it happened to make.

A scenario plan writes down what you will do if several possible things happen. A prediction claims one thing will happen. One supports trading; the other usually misleads it.

A fixed take-profit closes at a set distance; a trailing exit follows the move and locks in more gain as it runs. Each gives up something. Learn how to choose between them for your style.

A time stop closes a trade when its thesis window ends, regardless of profit or loss. It stops a position from overstaying an idea that no longer applies. Learn when it makes sense and how to set it.

Trade attribution breaks a result into its components: strategy, sizing, execution, discipline, and randomness. Learn how to use it so a review tells you what actually happened.

Finishing a trading course is a learning milestone, not a license to trade real money. Learn the steps that turn course concepts into a working, applied system before live capital.